Wedding Bar
Wedding Bar
When you have both bartending and woodworking hobbies, renting a bar for your wedding doesn't really cross your mind. Building one does.
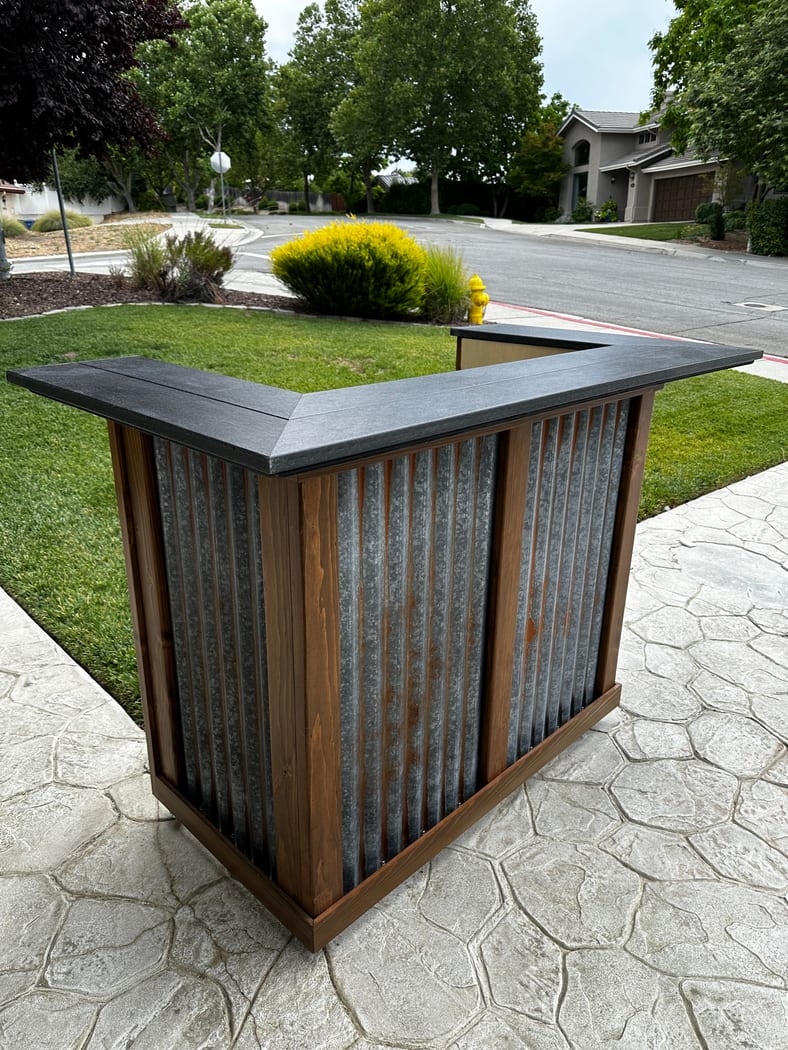
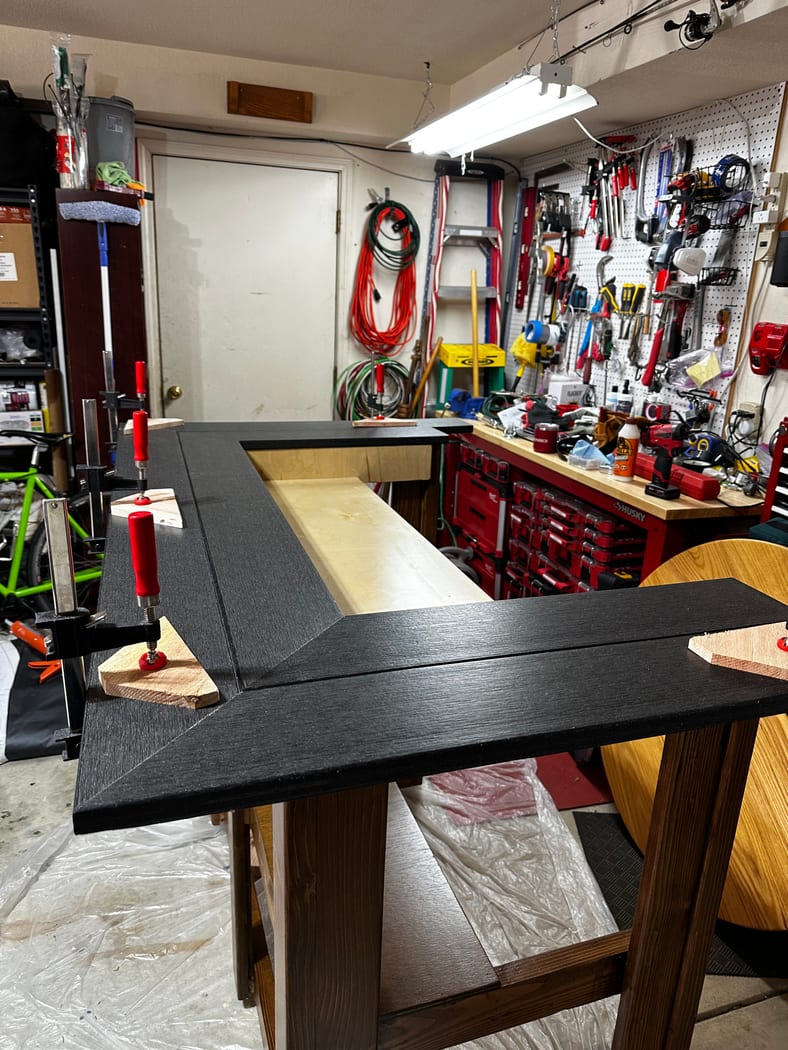
We wanted a rustic farmhouse look that felt intentional, not thrown together. The result is a U-shaped bar with a Douglas fir frame, aged corrugated metal side panels, and a composite bar top that can handle whatever gets spilled on it.

The Build
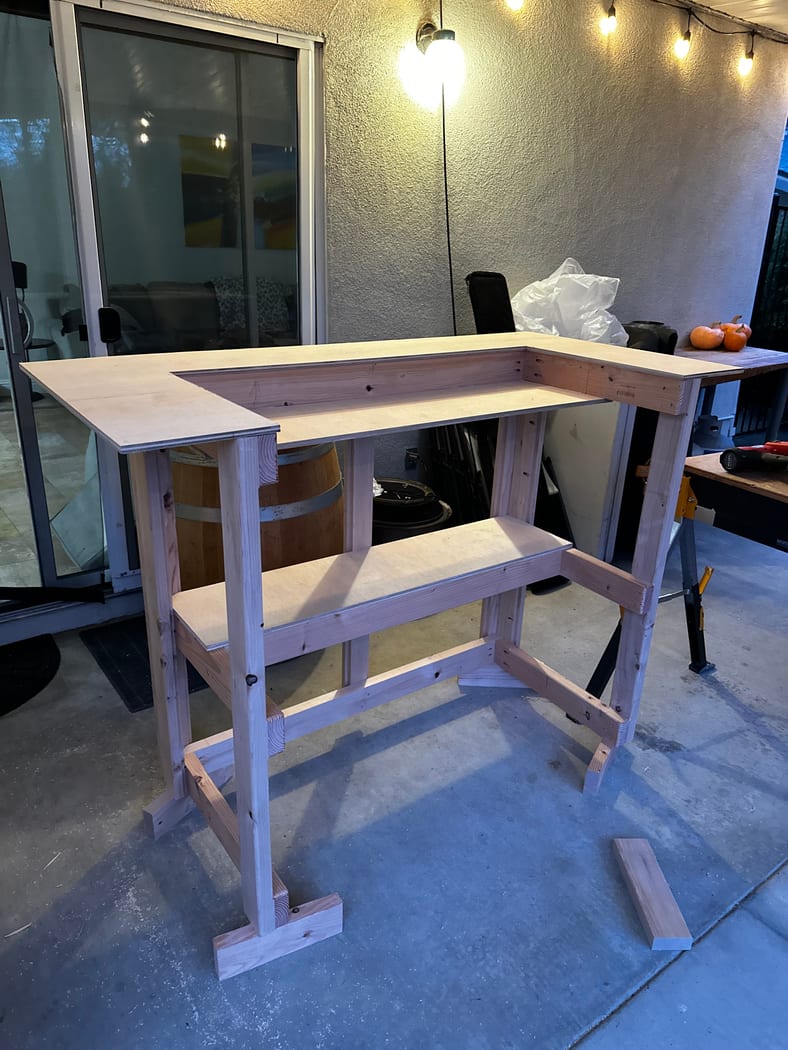
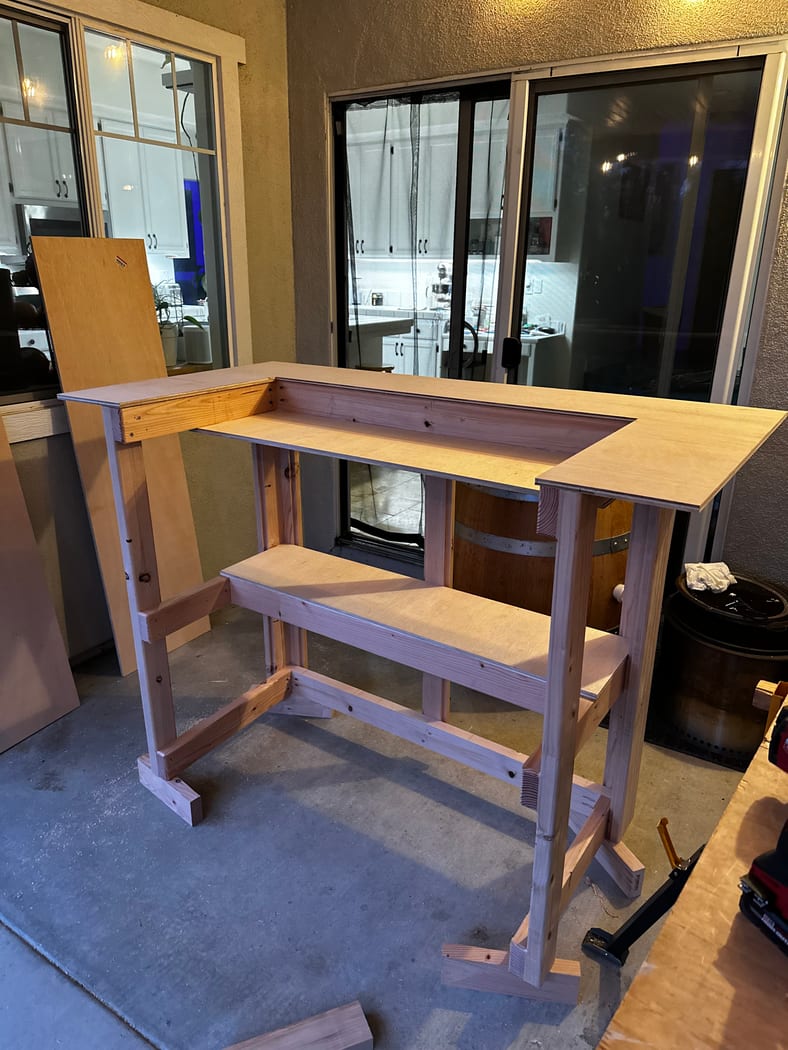
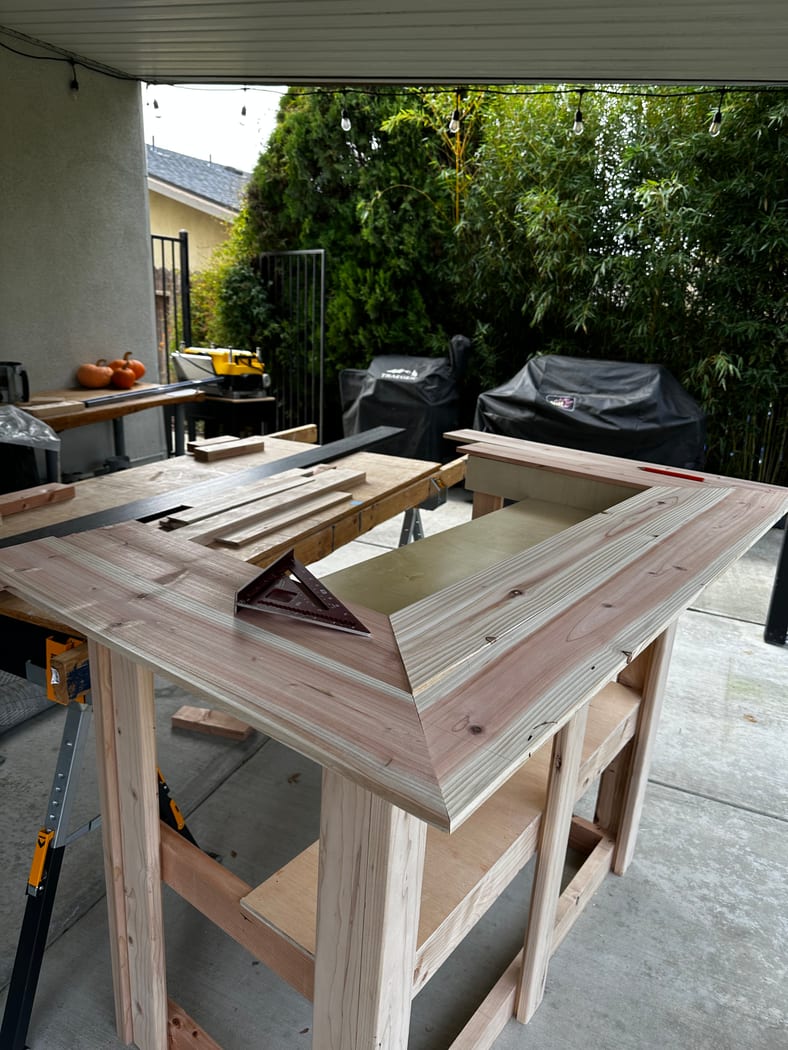
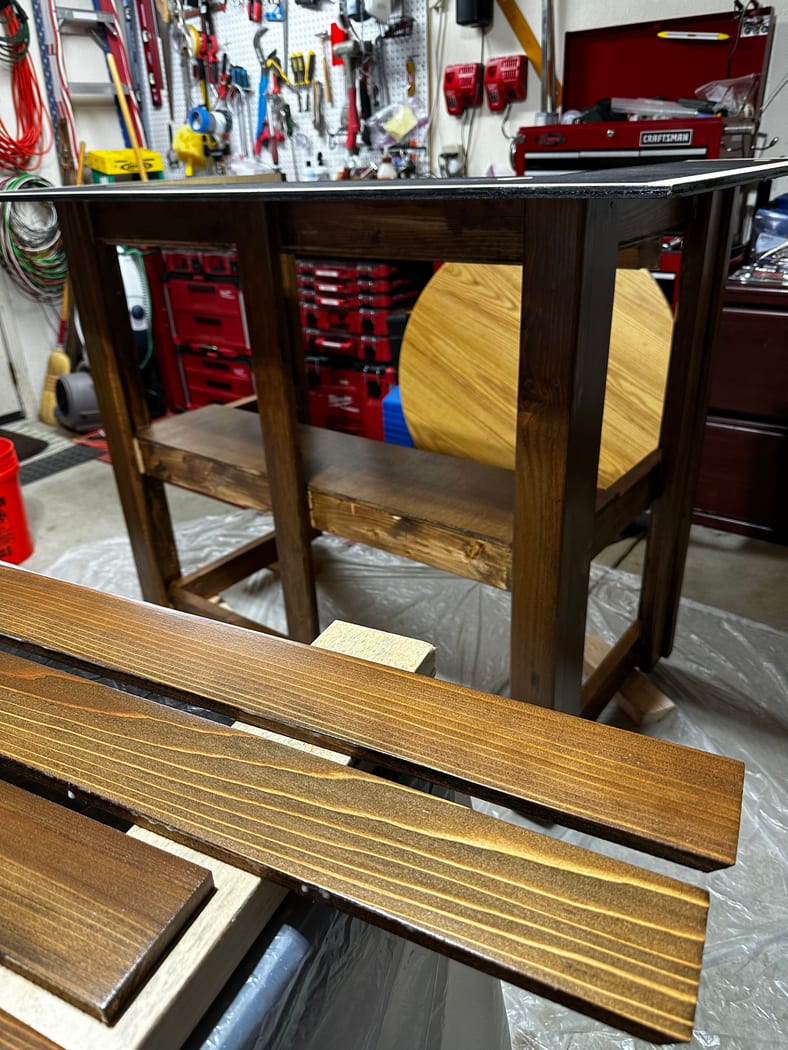
The frame is Douglas fir — solid, affordable, and it stains beautifully for a warm, rustic tone. I went with a composite material for the bar top because it gives a great feel under the hands, cleans up easily, and won't stain from drink spills. For an event bar that's going to see some action, that was the right call.
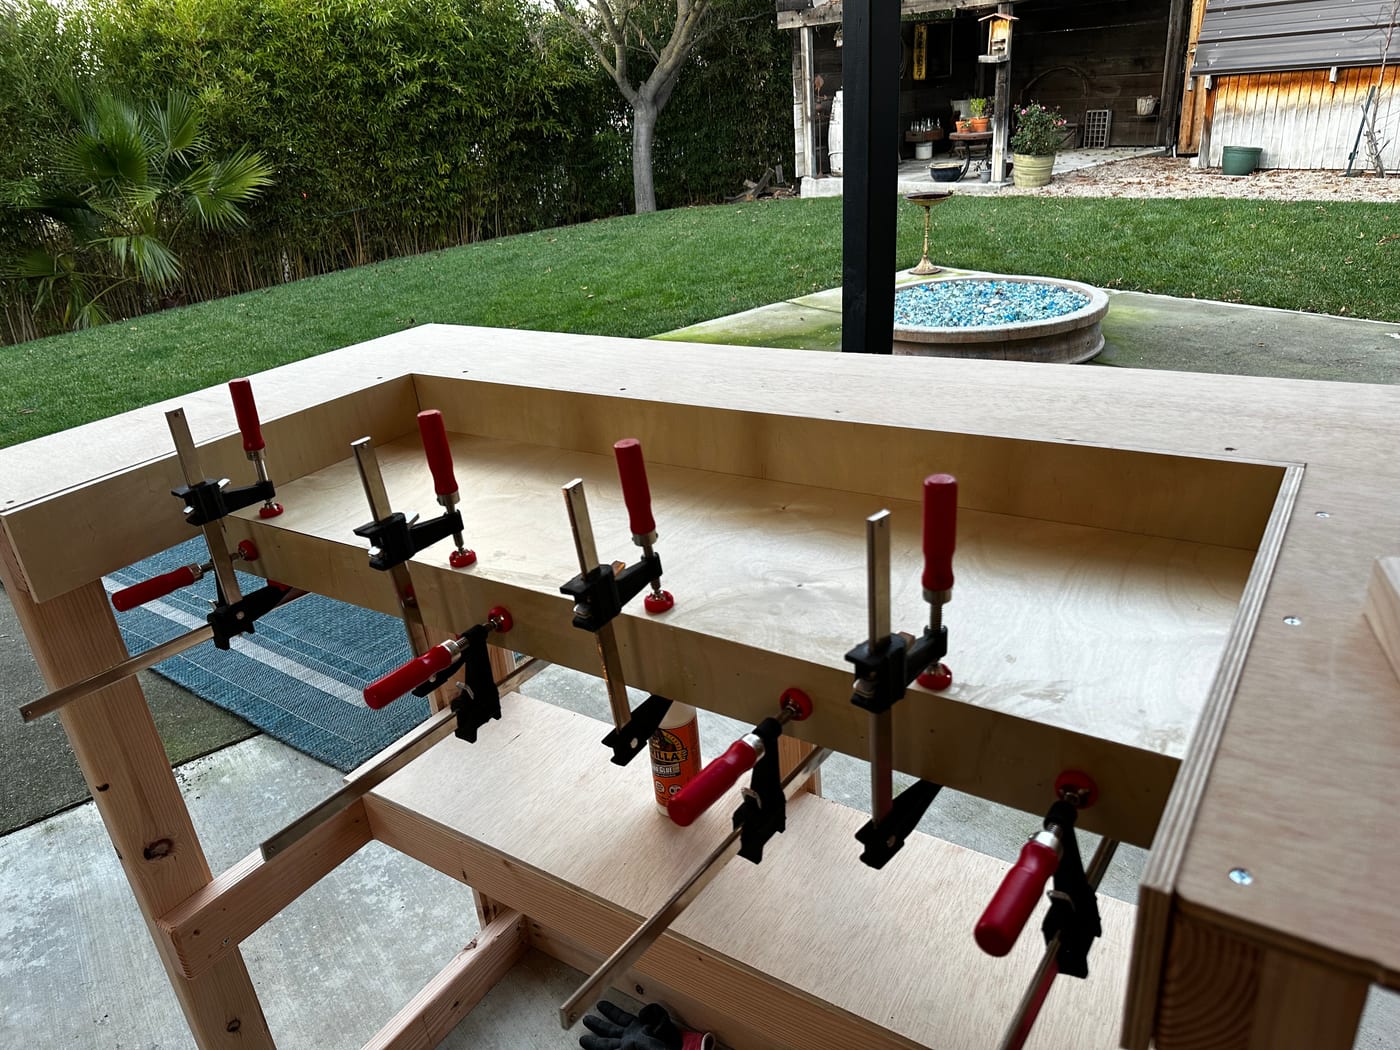
The inside prep surface is 1/2" finished Baltic birch plywood — clean, smooth, and plenty durable for a bartender workspace. The whole thing rides on four caster wheels so it can be rolled into position and locked down.
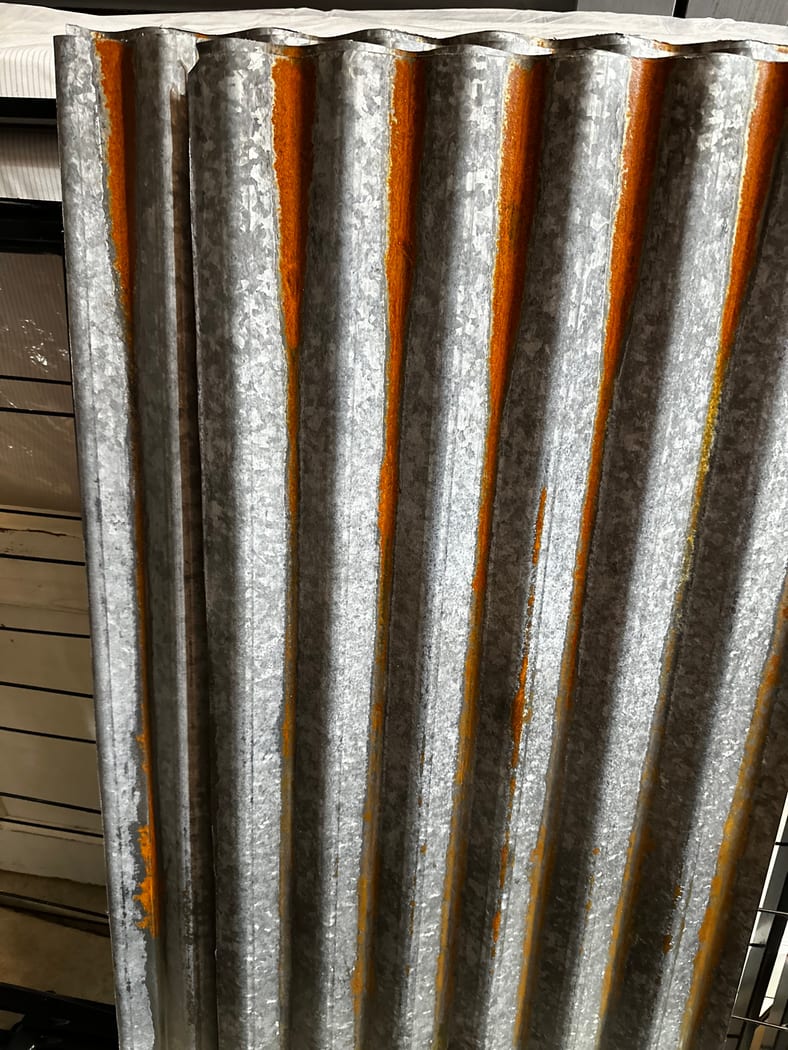
Aging the Metal
Learning how to age corrugated metal was one of the most fun parts of this build. Brand new corrugated steel has a protective coating that keeps it shiny and clean — the opposite of what I wanted. Here's the process:
- Strip the coating — Muriatic acid breaks down the protective layer on the metal, exposing the raw steel underneath
- Accelerate the rust — Hydrogen peroxide mixed with water speeds up the oxidation process significantly
- Let nature help — I got lucky and started this during a rainy week, so the sheets sat outside getting rained on, which made the aging look even more natural and uneven
- Seal it — Once the rust hit the level of decay I wanted (about a week), I cleaned them up gently and sprayed them with a satin clear coat to lock in the patina
The whole aging process took about a week of patience and checking in on them. The result is that authentic weathered look without any faking — it's real rust, just guided along.
Design and Planning
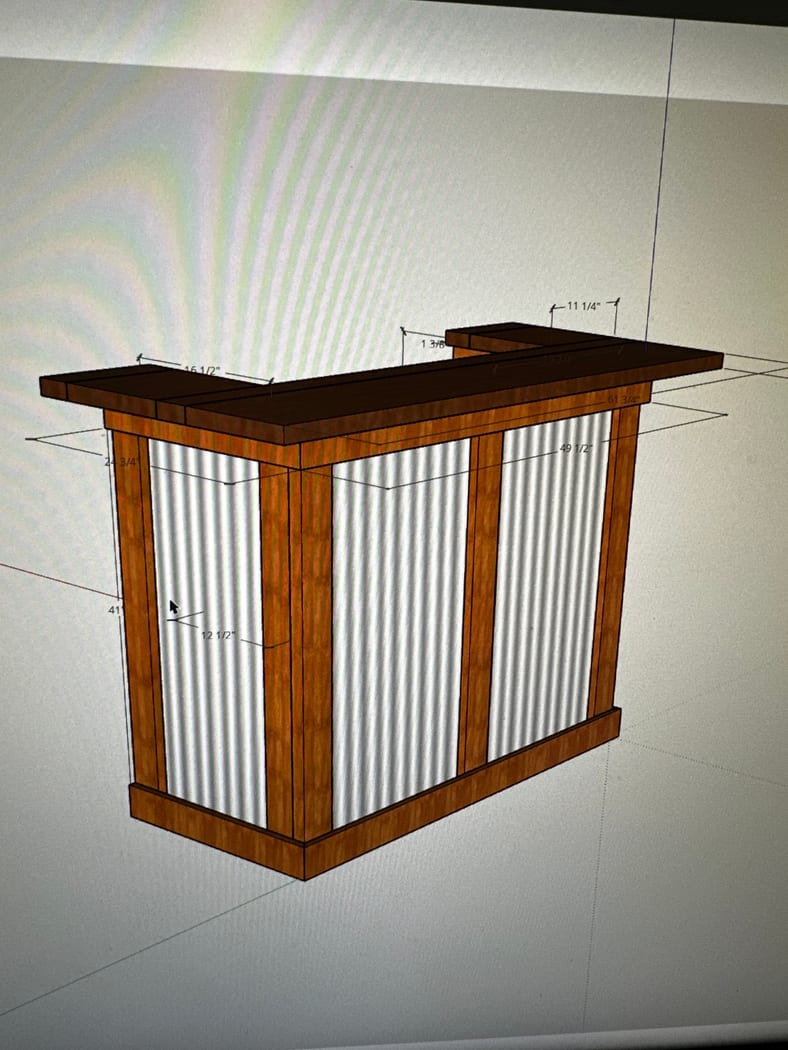
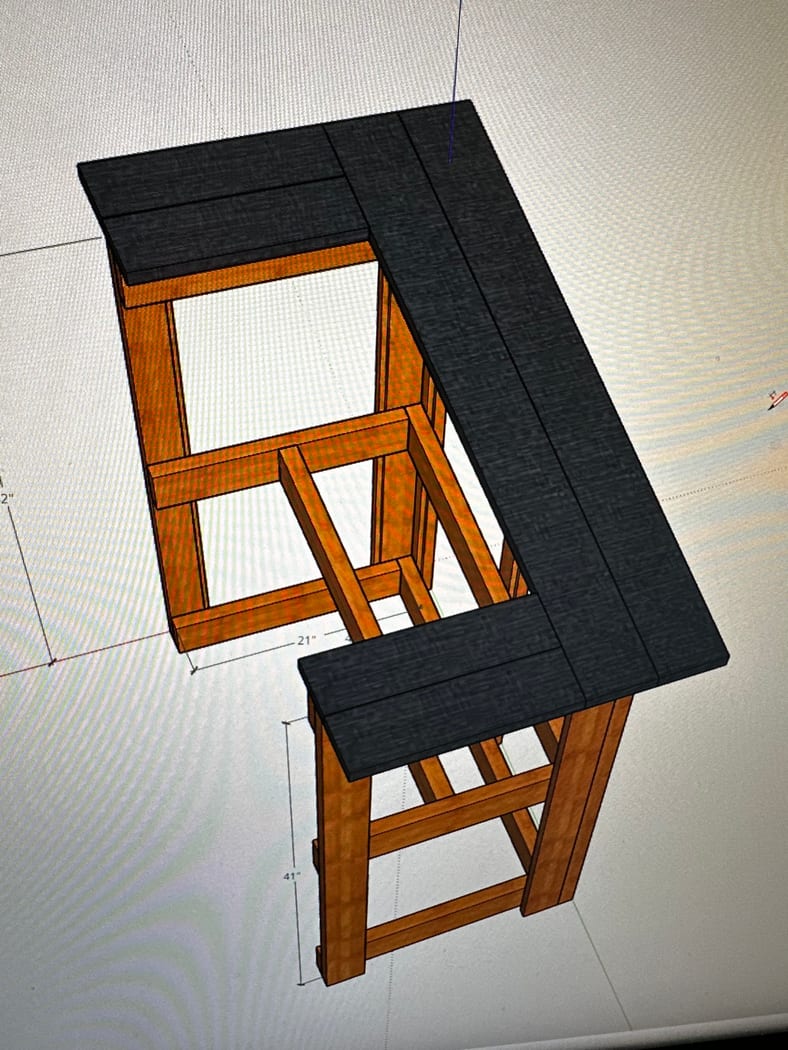
I designed the entire bar in SketchUp before cutting a single board. For a piece with this many components — the frame, three panel sections, the top, and the metal sheets — planning the assembly order was just as important as planning the cuts.
The biggest win from the SketchUp model was figuring out how the metal panels would install. I designed the frame so the corrugated sheets could slip into place and get screwed in after everything else was finished, stained, and sealed. No awkward workarounds trying to paint or stain around installed metal.
Lessons Learned
Weather and workspace. Up to this project, I was doing most of my work in the backyard. Building the bar during a rainy week (great for aging metal, terrible for everything else) made the logistics complicated enough that I committed to carving out more dedicated space in the garage afterward. That decision changed how I approach every project since.
Design before you build. SketchUp paid for itself on this one. Being able to rotate the model, check dimensions, and think through the assembly sequence before committing to cuts saved a lot of material and headaches. It's a habit I've carried into every project since.
Materials
- Composite bar top boards
- Corrugated metal side panels (aged with muriatic acid and hydrogen peroxide)
- Douglas fir frame
- 1/2" finished Baltic birch plywood (prep surface)
- 4 caster wheels