Epoxy River Console Table
Epoxy River Console Table
This piece started as a challenge to combine several things I'd been wanting to try — a river table pour, integrated lighting, and hidden drawer hardware — into one statement piece for the entryway.

The Build
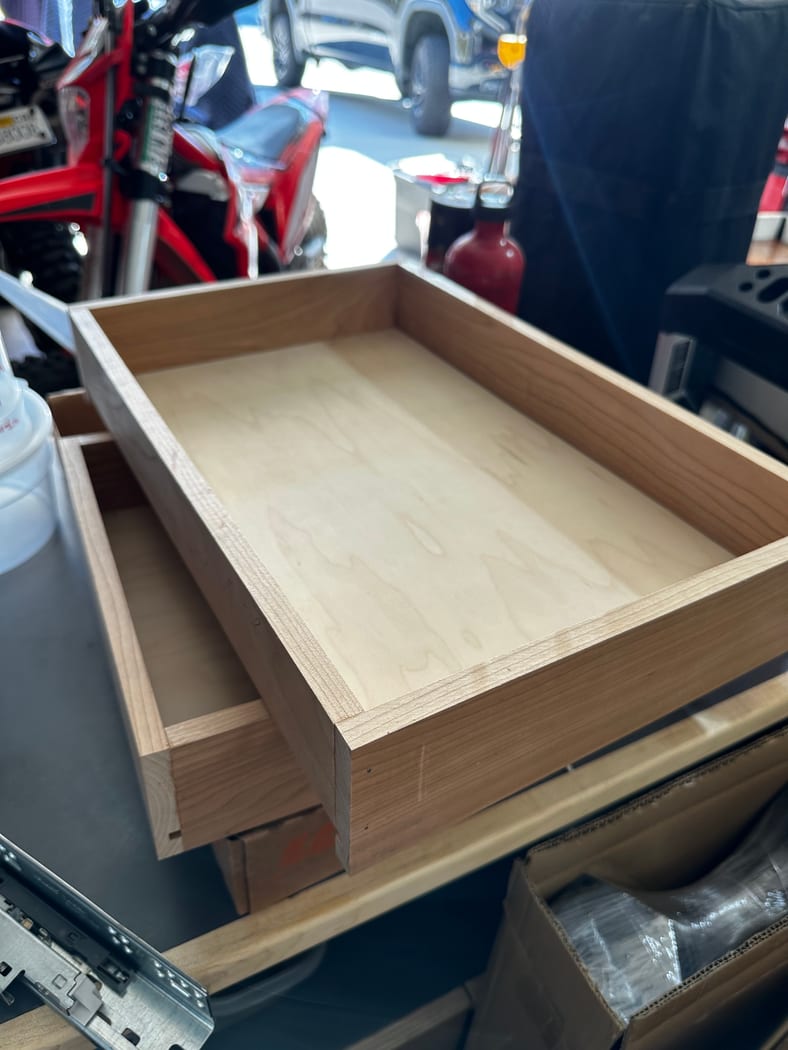
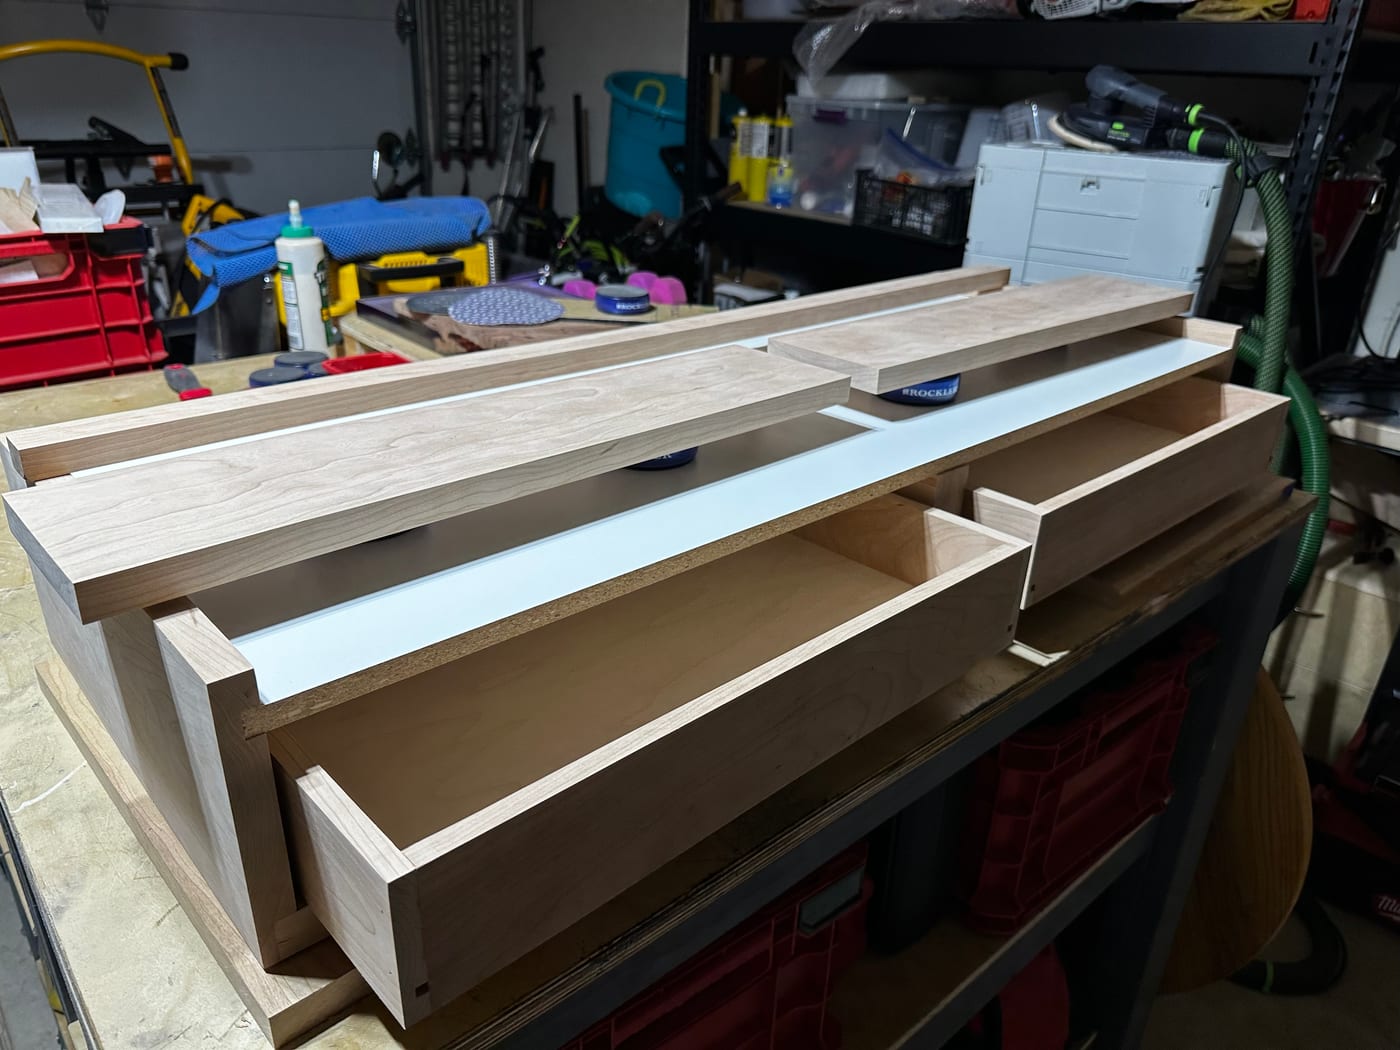
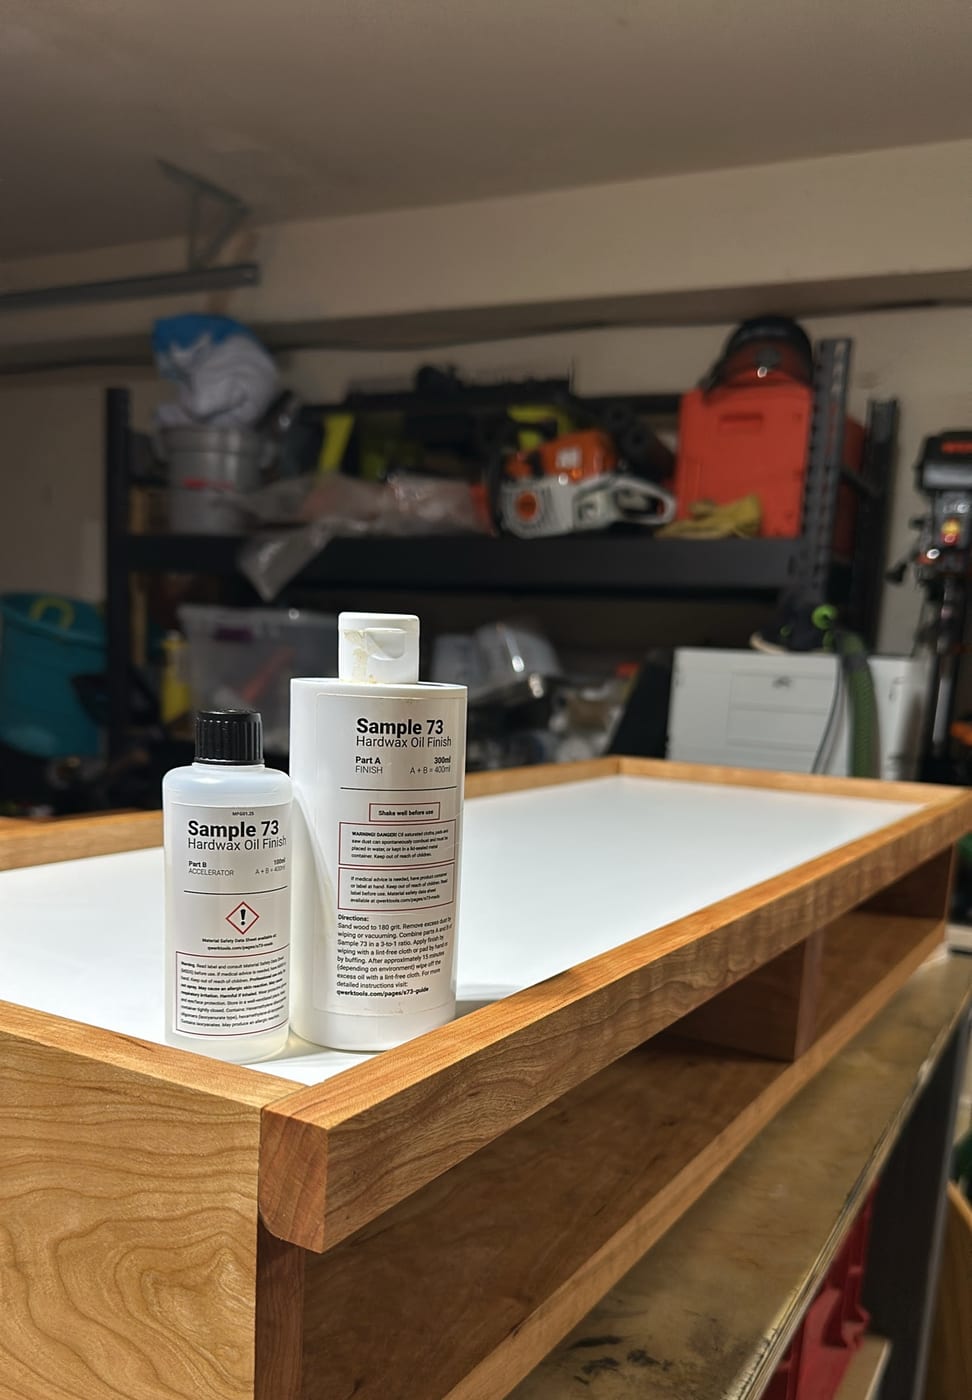
The base is built from cherry with a white melamine interior for the drawer cavity. I finished the cherry with Sample 73 Hardwax Oil Finish, which brings out the grain beautifully and gives it a natural, hand-friendly feel without a plastic look.
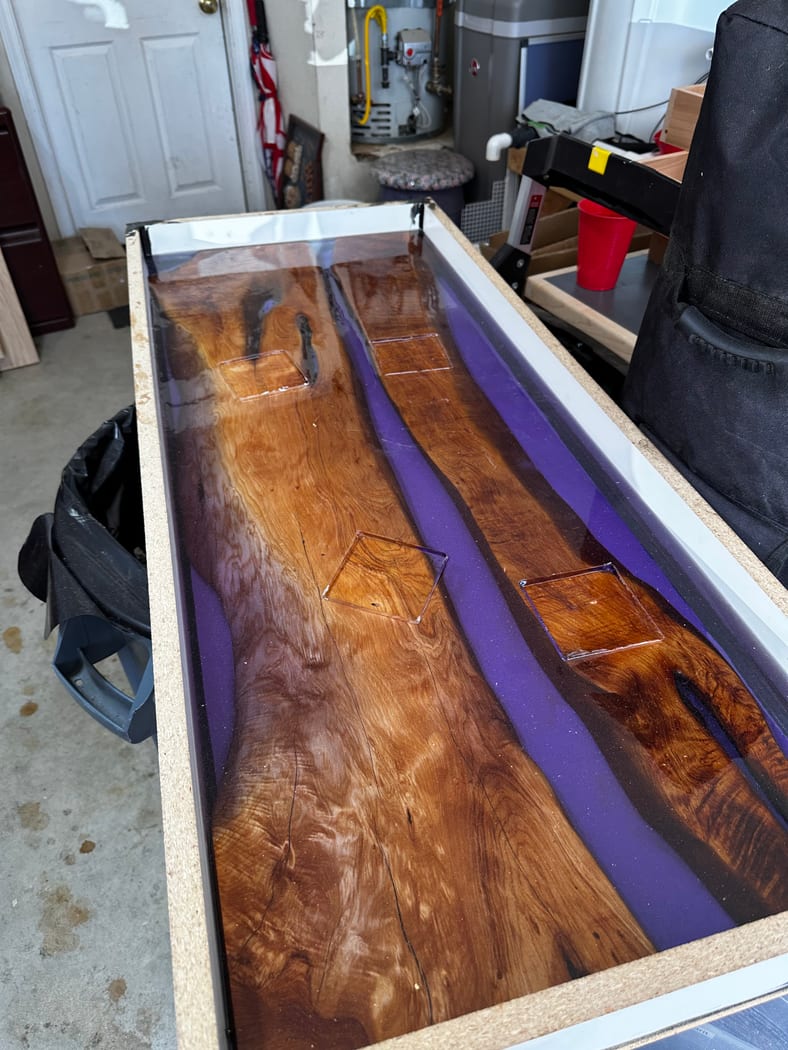
The top is a juniper slab split down the middle to create the river channel, filled with roughly 5 gallons of Wise Bond epoxy tinted with a transparent purple. Underneath the epoxy sits a Philips Hue light strip — I went with Hue because I already use them throughout the house, so the table integrates right into my existing setup with no extra controllers or apps. Any LED strip would work, but the color and scene control from Hue is hard to beat. One surprise: the purple tint in the epoxy doesn't wash out the other colors. When the strip shifts to blues, greens, or warm white, the colors still come through clearly.
The drawers run on Blum undermount soft-close slides — my first time installing that style of hardware. They're completely hidden when the drawers are closed, which was important for a piece like this where you don't want visible rails breaking up the lines.
The legs are from Flowyline, and the top is intentionally not permanently attached. I can lift it off for access to the lights, repairs, or even to swap in a different top someday if the mood strikes.
Lessons Learned
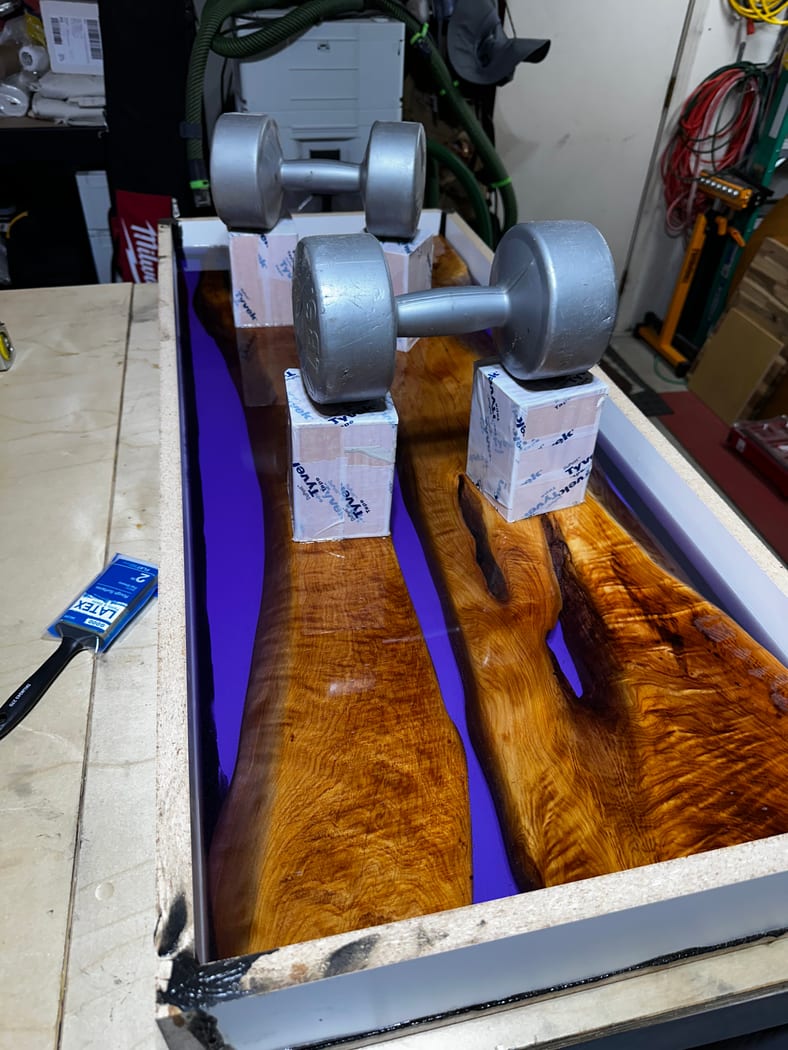
The mold and the happy accident. I built the epoxy mold from white melamine and sealed it with black silicone — using black makes it obvious where you've sealed and where you haven't. I skipped tuck tape, assuming the melamine surface was smooth and sealed enough on its own. It wasn't. Air bubbles crept in through the melamine as the epoxy cured. But here's the thing — I actually think the bubbles help the table glow better. They scatter the light in a way that a perfectly clear pour wouldn't. I left the bottom surface lightly textured rather than polishing it flat, and the top has a very light matte finish. The result is a soft, even glow instead of harsh hot spots. If I ever want a bubble-free pour, I'd either seal the bottom with a thin epoxy layer first (mixed with a touch of white mica powder to act as a diffuser) or tape the entire mold surface.
Always over-prep your epoxy. On large pours with tinted epoxy, coming up short is a real problem. Mixing a second batch to match a transparent color is difficult — it rarely blends well with the first pour. So I always mix extra and have a secondary project ready to catch the overflow. In this case, the leftover purple epoxy became the Psychedelic Clock in the collection. Nothing goes to waste.
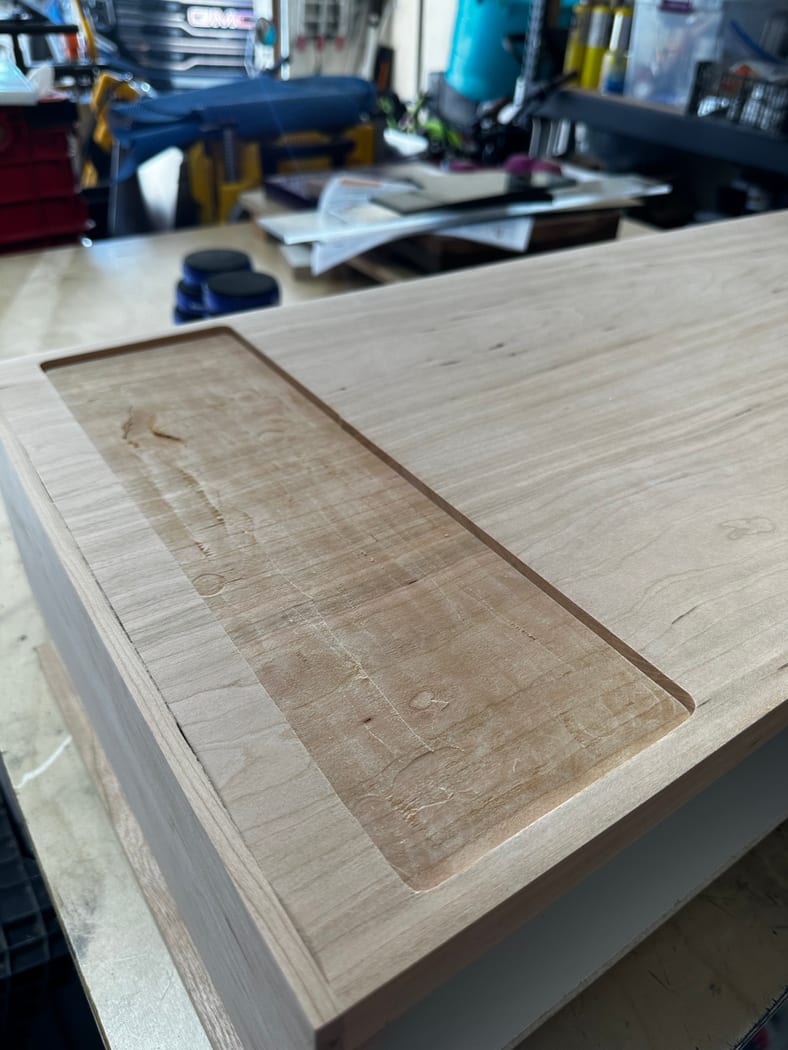
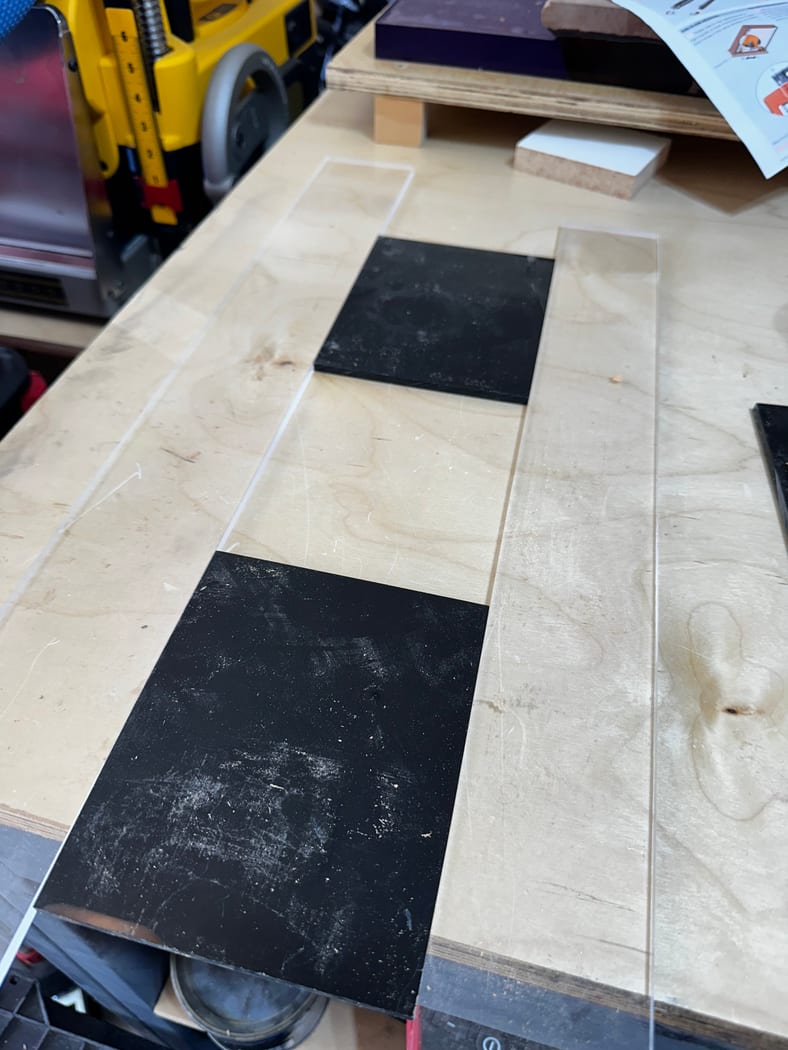
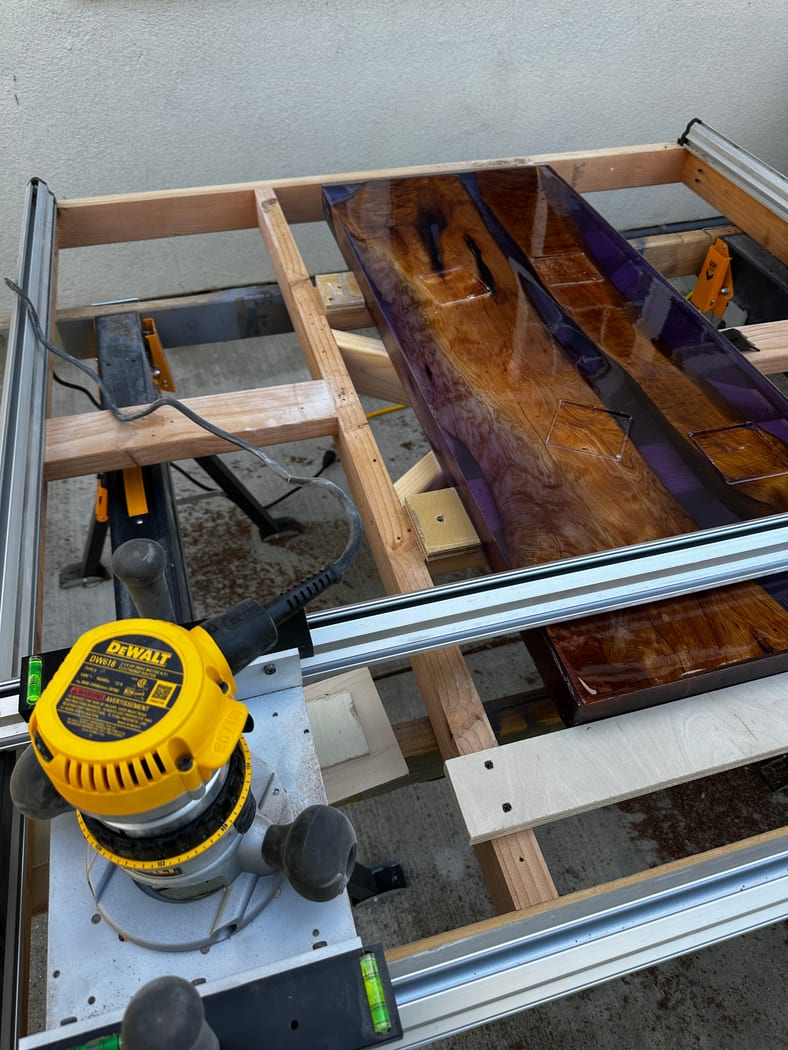
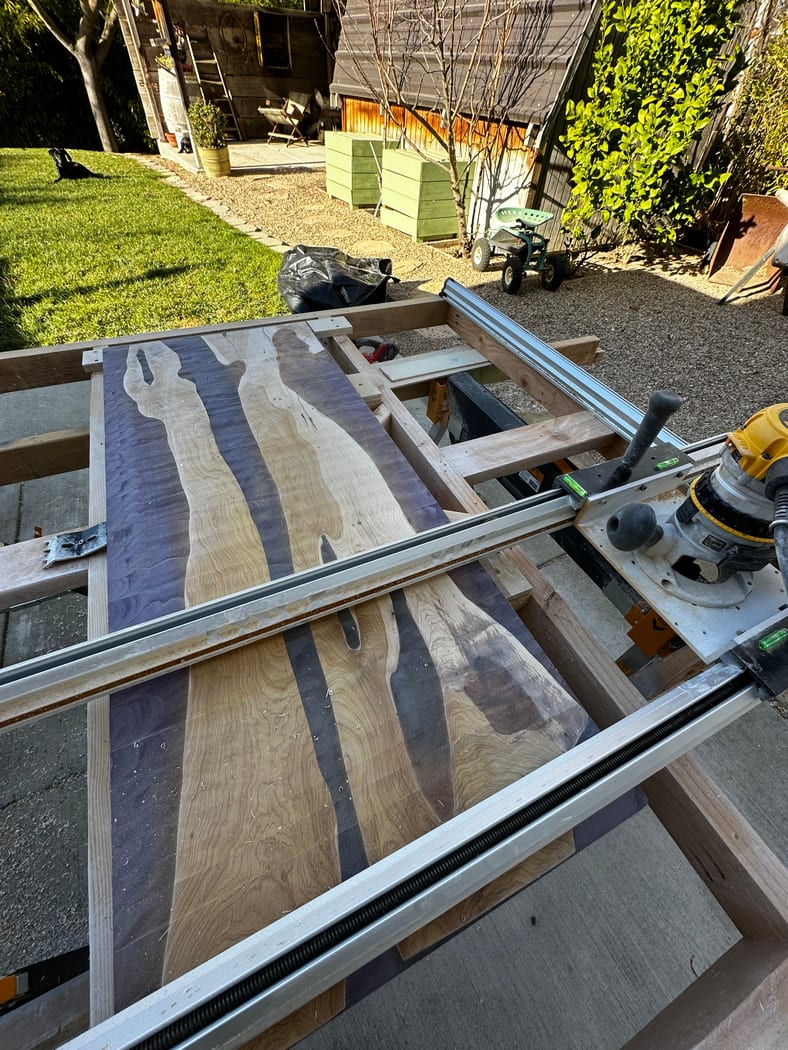
Routing the leg recesses. The mounting plates for the legs were larger than my router base, so I needed a template to guide the cut. I didn't have the 3D printer yet, so I improvised by cutting leftover acrylic pieces and arranging them to frame the plate shape, then used a router bushing to hog out the material. Lesson learned: always start from the center and work outward. Stay well inside your line for the rough passes, then clean up the edges with the template guiding the final cut.